How to Hang pictures in your home, evenly? The right way! and Some easy and useful Pointers
A picture may be a ” painting” or ” drawing”. It may be an impression of anything formed from a description. It can be emotions, feelings, or thoughts of someone who wants to portray them instead of just thinking about them or telling them verbally. From a picture, anyone can Judge the personality of the person who owns it. It can capture the memories which fascinate after some time has passed. You can be mesmerized by going through the old album or any hanging painting on the walkways… for these and many other reasons it is very important to hang your pictures evenly to give out a perfect and professional look to your area. The distorted uneven picture hanging from the walls would put off the whole aura of a place. So, let’s look into some of the tools, pointers, and ways you can follow and use to get that right and even arrangement for your pictures.
Materials needed for hanging pictures evenly and easily?
Different kinds of material can help you in hanging the pictures, but it can vary from picture to picture. It depends on the size, weight, and length of the picture. However, different kinds of material that would help in the hanging pictures evenly are as follows:
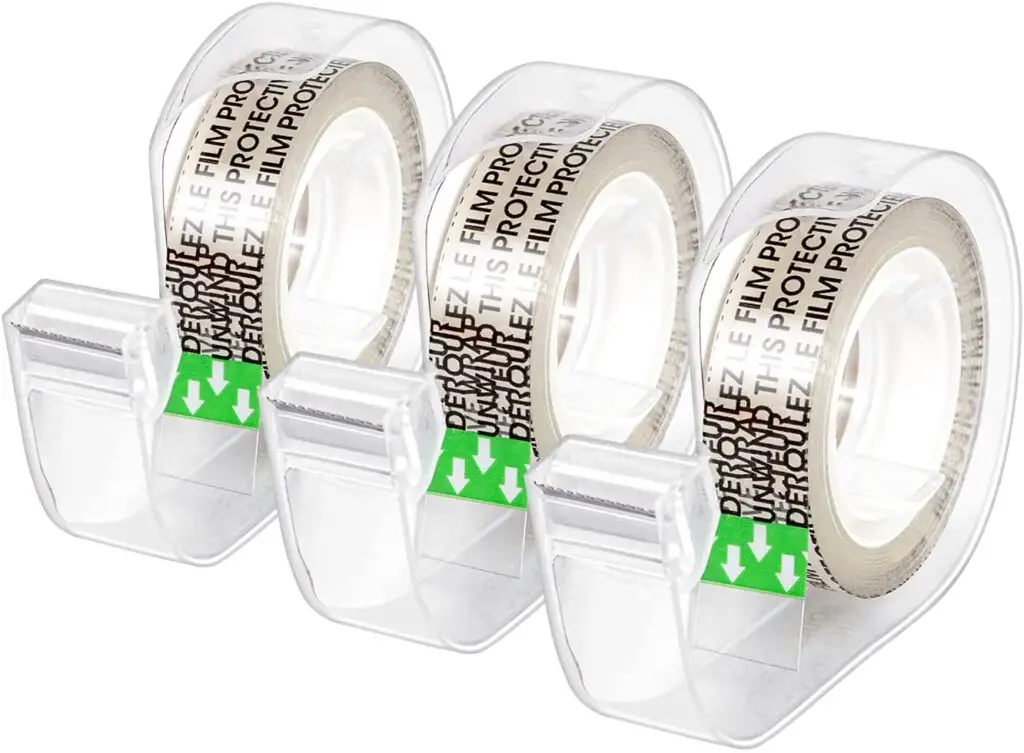
Painter’s Tape
“Masking” Tape is also known as “Painter’s ” Tape. It is a kind of Pressure-Sensitive Tape, which is easy- to- tear Tape. It is available in a variety of widths. It is a Tape that is used while painting, to mask off areas that are not wanted to be painted.
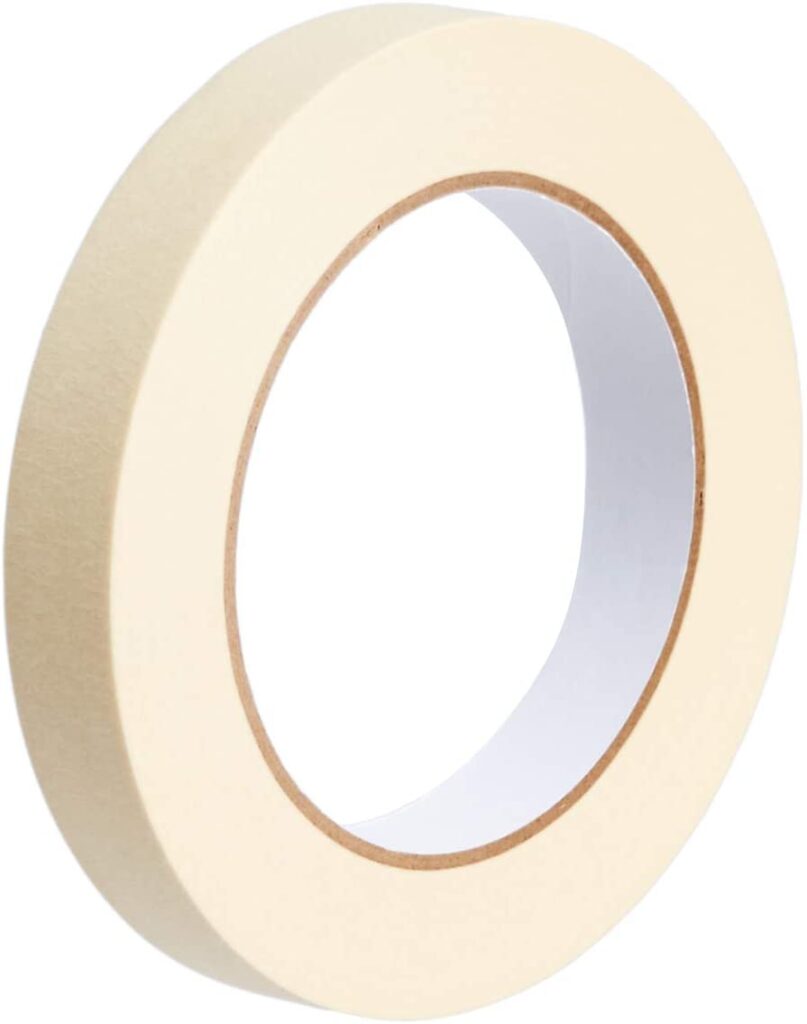
How do Masking tape or painter’s tape work?
You can apply a required amount of painter’s tape on the back of a picture on the keyhole. Next steps to be followed :
First of all, you will push the tape on the backside of a picture frame over a keyhole, which is a little hole at the back that holds on nails. you need to line the keyhole on the very edges of a painter’s tape. The basic function is to avoid unwanted paint on a painting.
Double-sided tape
It is a kind of foam tape that has both sides sticky or glued. It is a kind of pressure-sensitive tape that has adhesive on both sides which helps in sticking anything on a surface or a wall. But the problem is that when the object is too heavy it can not help in holding it for a long time and the object can fall easily.
You can use this tape for lightweight pictures. Otherwise, it’s a big No. It is a good solution to hang a picture without using a hammer or nails.
How does Double-sided tape work?
It is easy to rip off the tissue from one side of the tape. Both sides are sticky. You can apply a required amount of tape to the back of the picture frame and then just put it on the wall at the required point. It works better if the surface is smooth.
The most interesting part is that you don’t need to harm yourself by using Hammer.
Picture Hanging Wire
Most of the picture hanging wires are made up of steel. It can be either stainless or can be galvanized, twisted, and braided.

How can I use picture hanging wires?
Picture hanging wires are very useful because they are very strong and easy to adjust and install. The thicker the wire the heavier the picture it can support. The wire should be inserted into the hooks then tied firmly. After this hang the picture on the wall by wires.
Picture Hangers
Picture hangers are heavy-duty metal clips. They come in a wide variety like
•Sawtooth
•monkey hooks
•D- ring
• wall anchors and so on…
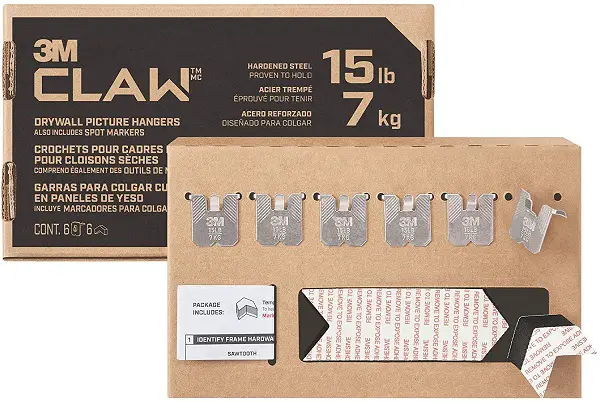
The most common type is Sawtooth picture hangers. You should try these too because they are very heavy-duty.
How can I use Picture Hangers?
Picture hangers are like clips made up of metal used to hang the pictures on the wall. By hanging pictures with a picture hanger you will also need a hammer and nails. Not to forget safety measures.
You will place picture hangers on them, there are two tiny holes on them, you will install nails into these holes with the help of the drill or a hammer. Then place the keyhole on the nails. Tadaaa!! It’s that much easy!!
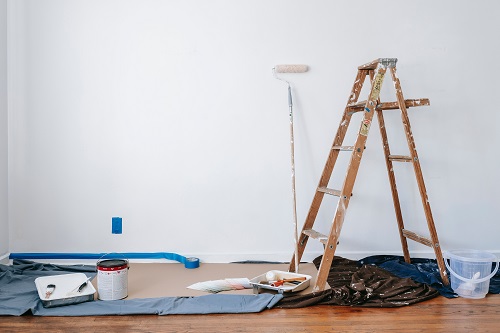
Ladder:-
Well, if you don’t have a phobia of climbing a ladder then you can use this.
Ladders can be used if the walls are high built. ladders come in different sizes. You should be very vigilant while selecting the appropriate size of a ladder that you can easily carry.
Level a Picture evenly on the wall
People don’t consider gallery walls, pieces of art hung on the furniture. They also don’t take into account the distance between the frames. A considerable level is required to maintain a good glimpse of the pictures. The pictures should be in order which makes sense. You can use a footer or measuring tape to maintain a better level.
How to maintain level :
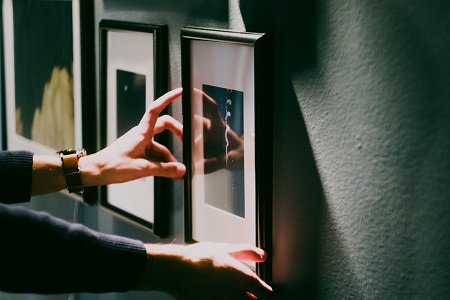
It is hard to mark the points to hit the nails. Because most of the time, it goes a little up and down and distorts the whole aesthetic of a place. So, it’s very important to maintain a proper level of a picture while hanging. Hang tight and hang right! There should be a manual by this name, considering how much a well-balanced picture contributes to the whole scenery of a room. To get that perfect lineup of a picture with the wall, you can try different hacks. Some of them are as follows
Hanging pictures evenly with tape!
Take a frame of the picture with two hinges for the nails and place a strip of painter’s tape on those hinges. Mark the points where nails need to be nailed. Take the tape off and place it on the spot you want your pictures at. Make sure the tape is straight with a leveler or a scale. Now mark the points of the nails on the walls from the tape. Remove the tape, drill the nails and hang your pictures. You can do the same with two or more pictures with painter’s tape strips.
Hanging multiple pictures evenly with hanging wire!
Your first attention while hanging multiple pictures, should be on the first one. The middle picture should be the one setting the stage and scenario for the whole wall. While hanging multiple photos, just make sure that the height of the picture from the wire is the same for each one.
Make a pattern on the wall with the pencil to mark the position of each picture on the wall. Then drill down the nails on each of the points and hang the pictures with the wire. The equal length of wire would give an asymmetrical layout. One other thing that needs care is the pattern with the nails, it should be well thought about what arrangement you would like for your multiple photos.
Hanging pictures evenly with a rope!
If you don’t have painter tape laying around in your home, you can use a rope to measure the height of two consecutive points from the ground to see if they are balanced and in symmetry or not. For bigger frames with two or more hinges, this pointer can definitely work.
First, measure the length of the frame and mark it lightly with a pencil on the wall. Then take two pieces of ropes. One with the same length as that of the frame of the picture. One of the same heights you want your picture to be hung on the wall. Measure the length of each hinge from the previous one and mark it on the rope. First, mark the location of each hinge on the rope with a marker and then on the wall with a pencil. Now, measure the distance of each mark on the wall from the ground with a rope. And adjust the points accordingly. Always mark your walls light with a pencil that can be erased without disrupting the paint.
Some suggestions for you before digging into the work
Although hanging the pictures on the wall sounds like a cherry on top, you should be extra careful while doing this task. Some considerations before punching a hole –
● The number and size of the art you’re gonna use matters a lot.
● What should be best for you to keep in mind while doing the work ;
● You can use a rhythm scheme for hanging pictures or any artwork. If you have 3 or more pieces you can apply for an ascending or descending order. This scheme works better for the movement of the eyes.
● If your pictures vary in size you should try to hang the big one first and then the smaller one, so on…
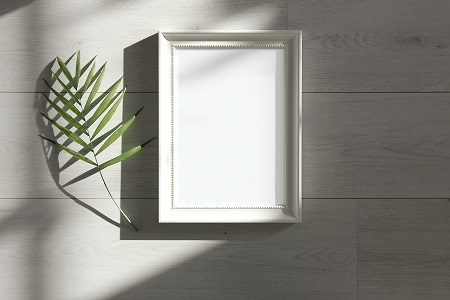
Right height for one piece of art:-
For beautiful decoration, you must hang the pictures at the right height. It means that you have to keep the intelligible difference between the furniture and the hangings. There must be a gap of height between the pieces if you are going to hang more than one piece in a row or sequence. 5′ 6″ is just the ideal height for a picture from the ground. My personal view is that sequences make the decoration elegant, aesthetic, and lovely. Combining the perfect item of art with the right kind of greenery can also create a perfect flow and decor. With this article, you can get some awesome insights about indoor decor plants How I achieve a traditional accent with faux traditional plants
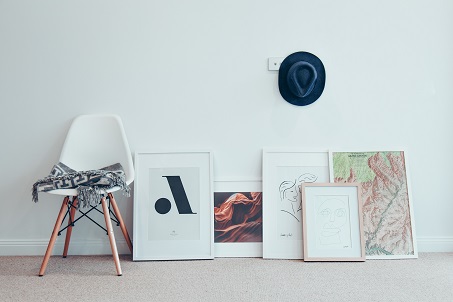
How you can hang pictures in a group the right way
Firstly, you have to keep in mind the number of pictures in a group. Mostly nowadays people love to use a set of pictures or different frames having the parts of the same painting on them.
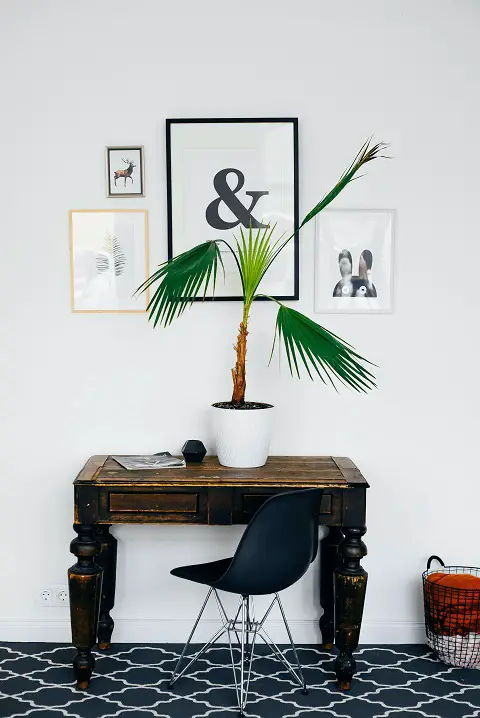
If you are looking to hang them on the wall near the staircase, then make sure that they would not be on the very low point or not so very high. The point which suits better is the middle of the wall. Along with the right balance of pictures you can get a complete guide on all kinds of photo frames with this article Guide to buying a perfect photo frame
How high should you hang the pictures over furniture?
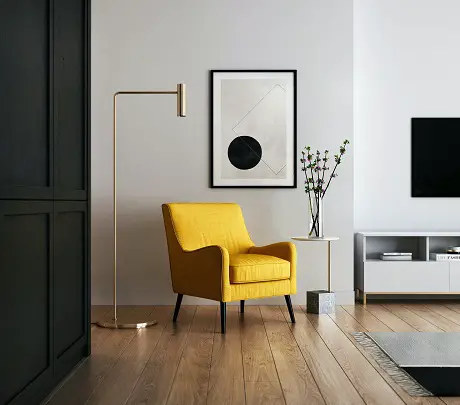
I find it’s best to hang the pictures over the furniture or any single piece of artwork at eye level. You must hang 4 to 6 inches above the furniture. You can create great harmony with this level. If you are going to hang the artwork on the sofa or a console the gap should be at least ⅔ width of the furniture.
Try this for lovely living room decor. From the floor, the center of the object must be 60 to 63 inches above.
If your ceiling is more than 9 inches you can increase the distance between the artwork and the floor.
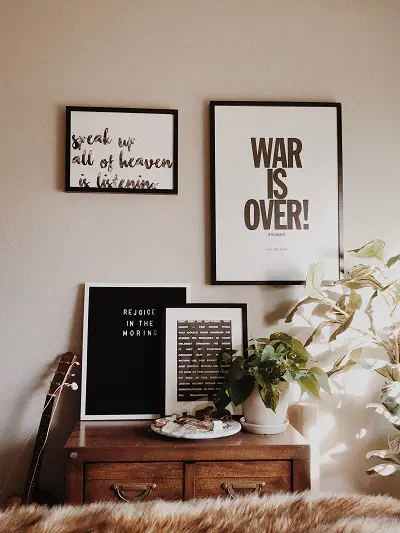
Combining Artwork with furniture
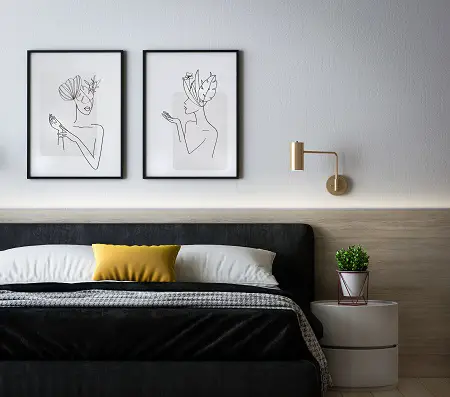
Art pieces should be in the middle of the bed. Better to choose the right size which would fit better for the bed. You can choose any artwork in correspondence with the furniture.
What is the right point for the artwork Center or above the furniture??
Well, in my point of view the pictures should be in a rhythm that helps the eye to move from right to leave or right to left. In this way, you can hang the pictures where suitable. With the right artwork and pictures, find yourself the right kind of accent furniture with this article Tips For How To Pick The Perfect Accent furniture
Experts’ Advice
In my observation, most people used to hang the paintings over the furniture because it compliments it. But if you are going to plan for decorating a room having 4 empty walls, one wall should be of great emphasis while the other one should compliment it with light emphasis.