How to Propagate Succulents from Leaves and Cuttings?
What is Propagation?
In the plant world, propagation means reproducing from any part of the plant, may it be seeds, stems, or even leaves. This can be a natural or a man-made process. In this article, we will be talking in detail about man-handled propagation from leaves and stems and not the natural seed propagation. Let’s get started, shall we?

- What is Propagation?
- 3 Main Succulent Propagation Techniques
- 1. Dry Propagation
- i. Prepping Up Your Mother Plant
- ii. Choose a Leaf That Will Initiate the Process
- iii. Finally, Lay Them Down to Rest
- 2. Water Propagation
- 3. Soil Propagation
- When to Propagate Succulents?
- Tools and Supplies You Will Need
- How to Propagate Succulent Offsets
- How to Propagate Succulents from Stem Cuttings
- How to Propagate Succulents From Leaf Cuttings
- Step 1: Prepare a Shallow Container
- Step 2: Trim Healthy Leaves
- Step 3: Monitor Sun and Water
- Step 4: Grow and Pot the Rosette
- Probable Reasons for Succulent Propagation Failure
- a) You Might Not Have the Right Growing Climatic Conditions
- b) You Didn’t Choose the Right Mother Leaf
- c) Did You Water Your Plant Amply Before Starting the Process?
- d) Chances are That You May Have Damaged the Leaf While Pulling it Out
- e) Nutrient-Rich Soil
- f) Lastly But Most Importantly, Patience is a Virtue!
3 Main Succulent Propagation Techniques
Let’s say your love for succulents keeps on increasing day by day. You have a nice collection but you want to expand your green family more. Before going in for the kill, you have to understand that not every succulent is the same or requires identical methods for growing. For succulents, you have to go in a little deeper. Have the understanding that every genus of succulents has different demands. A complete guide on different types of succulent propagation awaits you, so read ahead!
1. Dry Propagation
As the name suggests, dry propagation does not require watering the leaves that are used for propagation until they have fully developed roots. Sometimes called air propagation, this method is considered the best for beginners. You may ask why? Well, to begin with, this method is easy and effortless as compared to the others. Also, the risk factors of root rotting are very less in dry propagation. This method is best applied to the rosette genus.
To help you get a better understanding of dry propagation, we’ll take you through a step-wise process.
i. Prepping Up Your Mother Plant
Water your main plant at least three days before taking your leaf out, making the leaves adequately juicy and nutritious.
ii. Choose a Leaf That Will Initiate the Process
AIt’s time to remove the leaf after three days of not watering the plant. Select a rich mature leaf from the bottom-most layer. Avoid damaging the leaf at all costs. Simply twist and pull off the whole leaf with gentle hands.
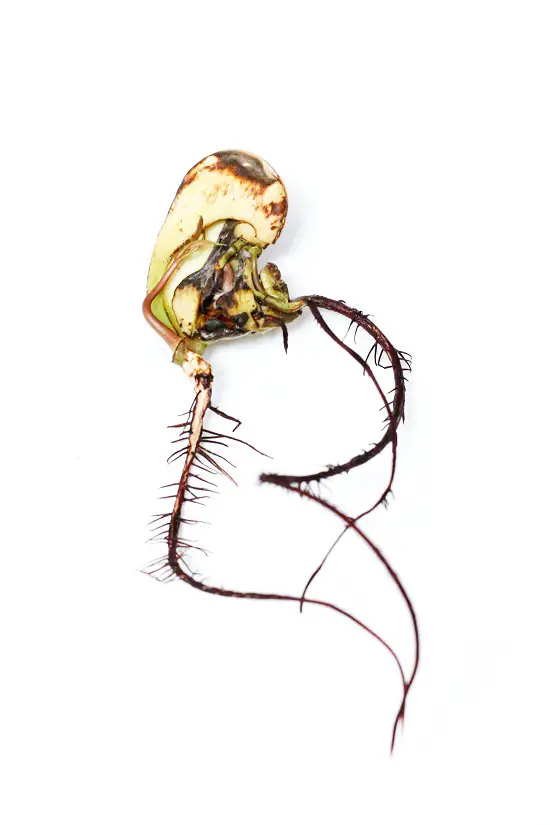
iii. Finally, Lay Them Down to Rest
Place the selected leaf on a moisture-free tray and wait. No watering is required for this process until the pup emerges and has been soiled in a pot, which takes about 1-2 months. The tray should not be placed in direct sunlight as that may cause the roots to be sunburned. Keep a constant check on the color of the emerging roots because they are an indicator of successful propagation.
Here’s a handy guide to choose a perfect pot for your fiddle leaf trees that will help you in making your pick, in case you are looking for one.
2. Water Propagation
Easier and more rewarding than soil propagation, this method supports rooting succulent stems or leaves in water with no soil. Succulents despise water and are prone to rotting in excess water, as we all know. But what they actually hate is the damp soil which promotes the growth of fungus and hence results in root rot.
The breakdown of the whole process done below will make the confusion much clearer. We promise!
i. Get a Cutting From the Mother Plant
Pick a healthy succulent good for water propagation. Leggy succulents are ideal for this purpose as you will need a stem cutting of your plant. Now it’s totally up to you if you want a bare stem or a stem with some leaves on it. Just make sure that you choose a healthy, juicy one with no damage or cuts. A healthy stem will increase your chances of success. You can also opt for propagating with the leaf only.
ii. Prep Up Your Cutting
Once you have a perfect stem from the mother plant, the only prep that you need to do is let it dry completely. This might take a couple of days. Make sure that the end from where it has been cut has been calloused well.
iii. The Final Course of Action
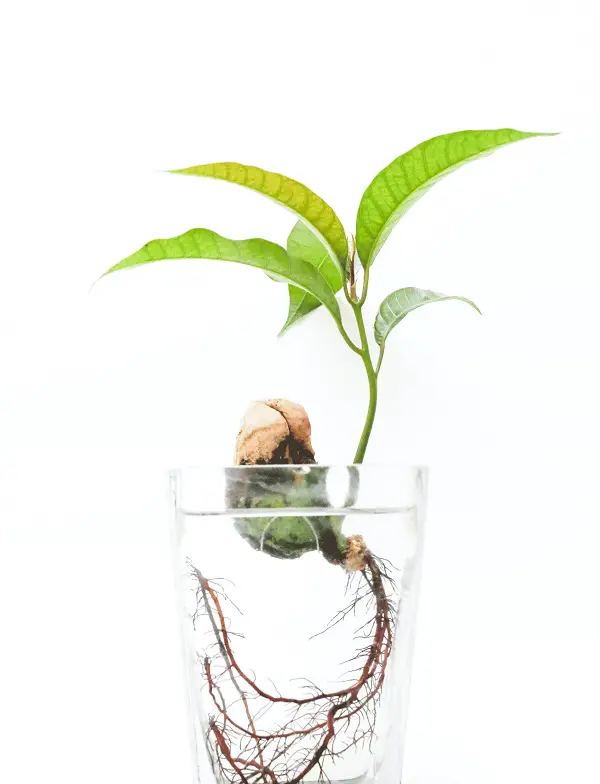
Choose a vessel or any container. We recommend getting a clear jar so that you can keep a check on the growing roots easily. Make sure you place it in sufficient but indirect sunlight with high humidity. Lid the jar with plastic cling wrap. Make small holes and pass your stem through it making sure that it is not submerged in water (this avoids root rotting).
Next is a wait-and-see process of growth which is about 2-6 weeks. Just make sure that the water level in the jar remains appropriate.
Once your cutting has an inch-long root, it’s time to pot them. Take them out and again let them dry for 2 days. Water roots are very fragile so be gentle while introducing them to the soil.
3. Soil Propagation
The most conventional method for propagation is soil propagation. In this method, we propagate the succulent directly in the soil. For this method, the most important requirement is the perfectly nourished soil with the required amount of dampness. A little more or less can cause this method to fail. Also, other methods will show you the root growth process. But this one won’t!
i. Initial Prep
Make sure you choose a healthy green plant with enough juicy leaves. Water it and leave it for a few days before you begin the whole procedure.
ii. Get Your Container Ready
We suggest getting a shallow tray filled with fresh soil which has an adequate amount of nutrients for succulent growth.
iii. Time to See the Results
Now place the callused leaves on top of that soil. Another way is to plant it in the soil but not recommended. DO NOT WATER until roots start to appear. The maximum you can do is spray very little water to keep the roots damp making sure you do not wet the leaves in this process.
Time to shift them in their own pots! Only the roots should be submerged in soil and not the leaves. Indirect sunlight should be adequate during this whole process.
When to Propagate Succulents?
Notice if your plant is growing in length. Also, check if it is developing a woody stem at the bottom and the leaves have started to space out more because the lower end might not be getting enough light. A succulent in this state is called a leggy succulent.
If it checks all the boxes, then boom! You just got your green signal that your succulent is propagation-ready. It’s time to get your tools out.
Look over this article on choosing the perfect vase for you, which will complement the beauty of your flowers at home.
Tools and Supplies You Will Need
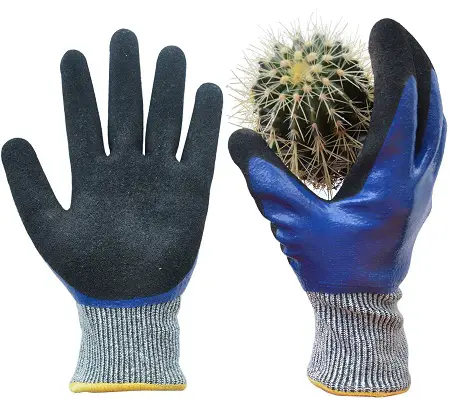
1. Nitrile-Dipped Gardening Gloves
Super lightweight and flexible, Nitrile gloves are a must-have gardening harness. Don’t be fooled by their delicate refinement as they are super sturdy and made for the hard work in the soil. These gloves are coated with flexible and puncture-free Nitrile, which will help you when working with thorny plants. And what’s best is that once you are done, you can wash and reuse them!
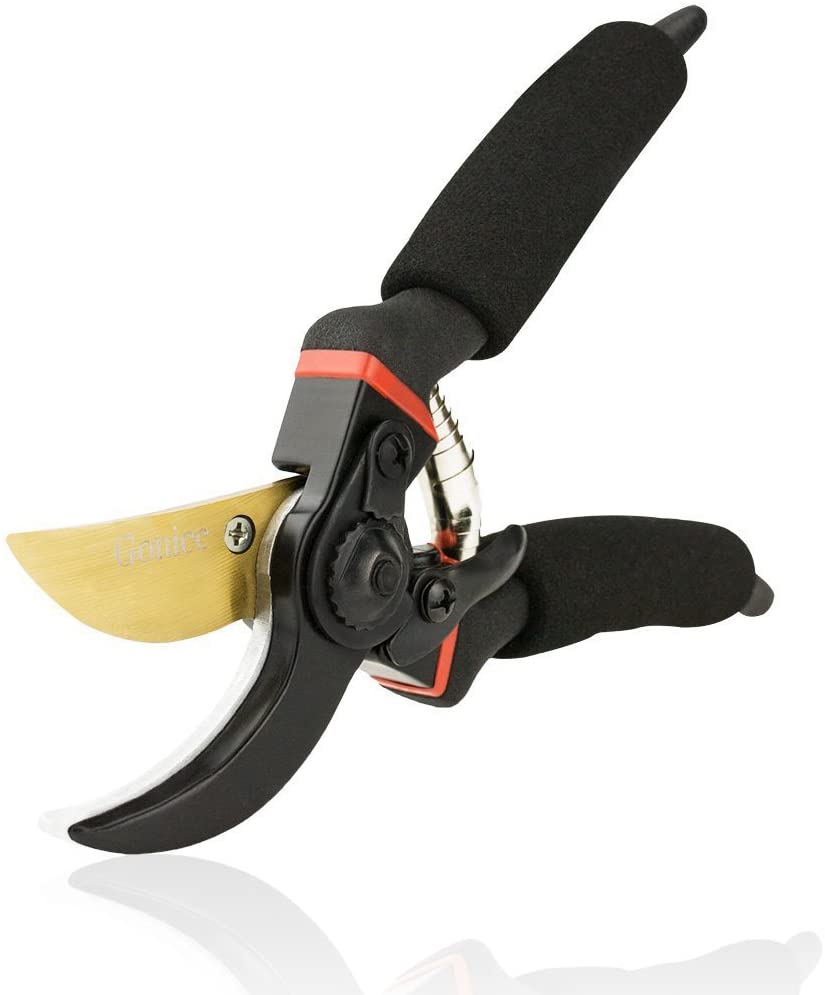
2. Pruning Shears
Pruning shears are gardening tools that are not to be missed when you are into gardening. These are scissor-like tools but much sturdier and made for cutting the thickest branches or stems. You will definitely need these when propagating succulents from stem cuttings.
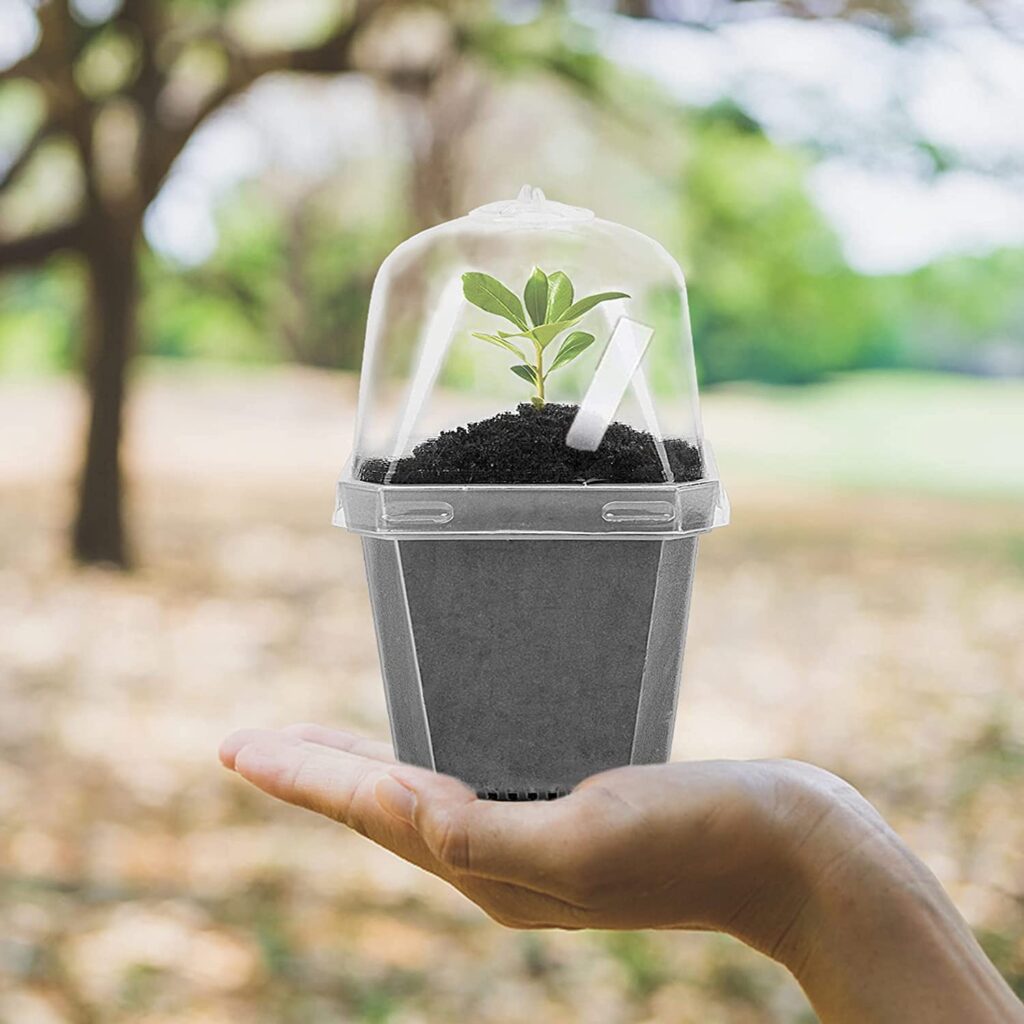
3. New Containers
Get fresh new containers devoid of grime before starting. Choose the right sizes needed as your previous one might be too small. You will also need new clean trays for the dry propagation of succulents.
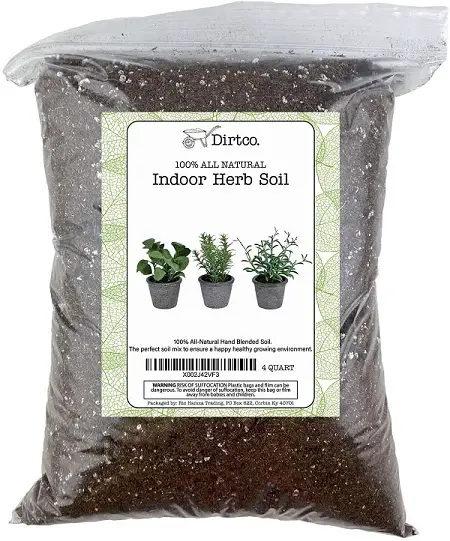
4. Fresh Soil
You need fresh soil for propagating succulents because you don’t want all the hard work to go to drain just because your soil was devoid of essential nutrients. So make sure that you do not miss buying fresh soil combined with compost for planting your newly emerged pups or offsets.
How to Propagate Succulent Offsets
Self-sustaining new plants can be achieved by propagating the offsets that are sometimes produced from lateral shoots. Reading the steps below will make it easier and clearer for you.
Step 1: Prepare a New Pot
Prepare a new pot with the right amount of water and a plastic cling layer on the lid if you are going for the water propagation method. Or a pot with the right depth with fresh soil for soil propagation. We need moist soil for this. When filling it up with soil make sure that you leave half an inch from the brim.
Step 2: Remove the Offsets
Carefully remove offsets from the parent plant and let it dry out for 2 days. Callus formed is an indicator that your plant is ready for propagation.
Step 3: Plant in Fresh Soil
Plant your offsets in fresh soil and wait for a few days before watering them. Enough sunlight (not direct), and dry location are important factors to be kept in mind during this time.
How to Propagate Succulents from Stem Cuttings
Propagation through stem cutting is very popular and preferred. You need to abide by the following rules.
Step 1: Trim the Cuttings
While getting a cutting for propagation, make sure you choose a healthy parent plant. A leggy succulent would be a good option. Choose a stem with juicy and thick leaves that are not discoloring or wrinkling. Use pruning shears to cut about 2-4 inches of a stem.
Step 2: Leave it For a Few Days
After you get your cutting, let it rest for a good 2-3 days. This step, if avoided, might become the reason for root rotting resulting in the propagation failure. Keep it in a dry tray until you see callus forming at the end that has been cut.
Step 3: Plant in Fresh Soil
After the stem is completely dry, you can opt for a dry, wet, or soil propagation method.
While we are on the topic of gardening, please check out my blog on useful container gardening ideas that would make it an absolutely fun activity.
How to Propagate Succulents From Leaf Cuttings
Step 1: Prepare a Shallow Container
For propagating succulents from leaf cuttings, you will not need a very deep container. Prepare a shallow container like a tray by cleaning it and making it completely dry. Notice that any additional dampness or moisture can be triggering a root rot.
Step 2: Trim Healthy Leaves
A good rule of thumb to remember is that a healthy parent will always produce healthy offspring. So choose a healthy plant to take your leaf from. While picking the leaf, keep a few things in mind. The leaf you choose should be thick, luscious, and firm, and it should come from the plant’s lowest layer. You should gently twist to pull the leaf out without any damage or cut. Place them on a dry sheet to form callus. Now your leaf is ready for the next step.
Step 3: Monitor Sun and Water
You can opt for any one method of propagation for succulents explained earlier. What is common in these methods is to be cautious and patient. Observe the exposure to sunlight, humidity, and water. Keeping an eye on the developing roots is also very important so that you can change the stimulating conditions accordingly.
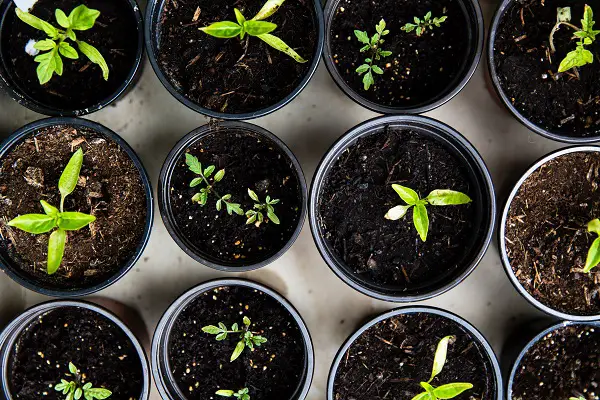
Step 4: Grow and Pot the Rosette
When the roots are developed, it is time to pot your newly developed plant. Be gentle as they are very fragile. The roots developed from the water propagation method may require drying up before potting for a few days. We highly recommend using fresh containers and soil for this purpose. The soil with ample nutrients with a mix of compost will help in faster and healthier growth.
Probable Reasons for Succulent Propagation Failure
Sometimes succulent propagation becomes like a rigid child who just wouldn’t budge. There could be a couple of reasons behind this rigidness. Let’s look into them:
a) You Might Not Have the Right Growing Climatic Conditions
Check the humidity levels before starting. Your dry propagation will be a success if you eliminate the chances of a dry or less humid environment. The amount of sunlight the leaf gets during the process is also very important. Just make sure your roots are pinkish-white in color. Otherwise, reduce the sunlight it is getting.
b) You Didn’t Choose the Right Mother Leaf
Chances are that you might have picked a less juicy leaf. Since this method doesn’t require water from any external source, you have to make sure that the leaf you picked to be propagated should be healthy, thick, and juicy.
c) Did You Water Your Plant Amply Before Starting the Process?
Your plant leaves need to store enough water before propagating. Because that water is the only water used during the whole process.
d) Chances are That You May Have Damaged the Leaf While Pulling it Out
We emphasize gently and carefully taking out the leaf. Slight negligence and all your efforts will go down the drain.
e) Nutrient-Rich Soil
It is a must for growing roots. So make sure that you use fresh soil with compost for when you need to pot your succulents.
f) Lastly But Most Importantly, Patience is a Virtue!
Sometimes things don’t go exactly how you are expecting them to. The answer to this is to be very patient as some leaves may take up a lot of time to develop roots or leaves.
Succulents are a great and warm gift. You don’t need to spend a fortune to buy them. Be a pro in propagating your succulent collection and give as many gifts as you want!